PIC開発環境を構築していきます。その手順を追って残していきたいと思います。
今回は主に使うであろう8ビットPIC用のCコンパイラー MPLAB@ XC8 C Compilerのインストールについて手順を残しておきます。
開発環境
THERDWAVE Magnate IM
13th Gen Intel(R) Core(TM) i5-13400 RAM16GB,SSD 500GB
Windows 11 Home 22H2
統合開発環境ソフトウェア
MAPLAB X IDE Ver. 6.15
まめの開発環境についてはこちらを参照してください。
XC8 C Compiler v2.45のインストール
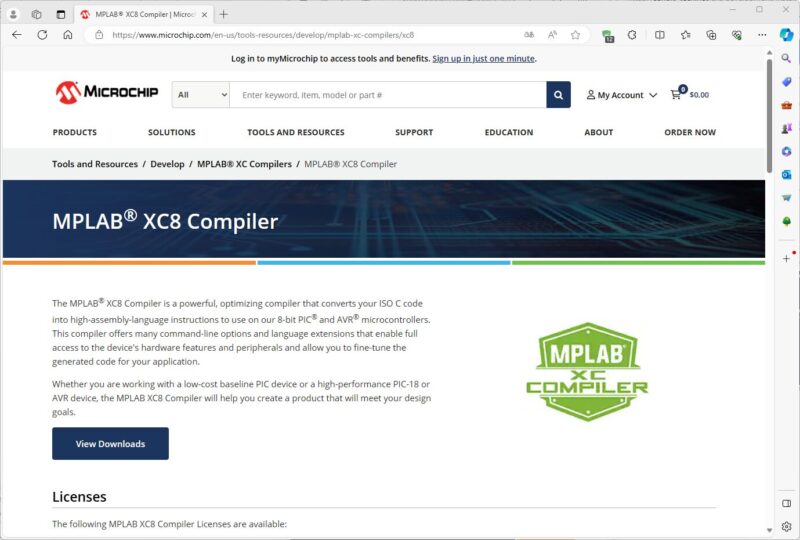
XC8 CompilerのHPを開きます。
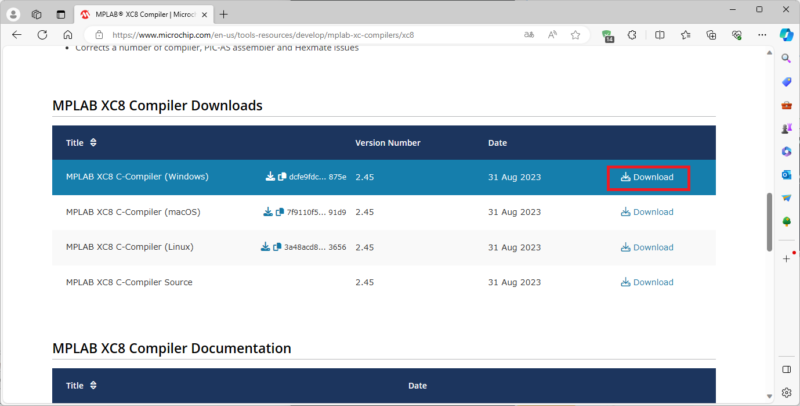
下にスクロールして「MPLAB XC8 Compiler Downloads」の項目から「MPLAB XC8 C-Compiler(Windows)」の「Download」をクリックして、ファイルをダウンロードします。
「xc8-v2.45-full-install-windows-x64-installer.exe」がダウンロードされましたので、ファイルを開きます。「このアプリがデバイスに変更を加えることを許可しますか?」が表示されましたので、[はい]をクリックします。
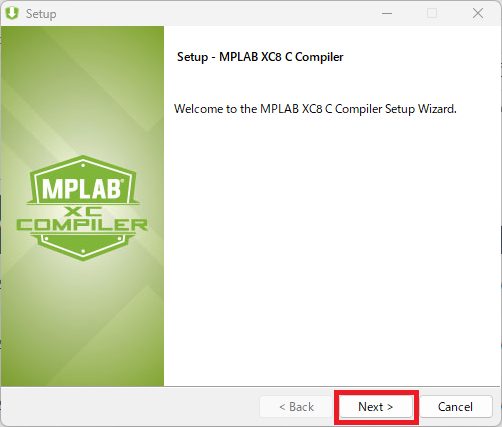
「Setup-MPLAB XC8 C Compiler」ウィンドウが開きますので[Next>]をクリックします。
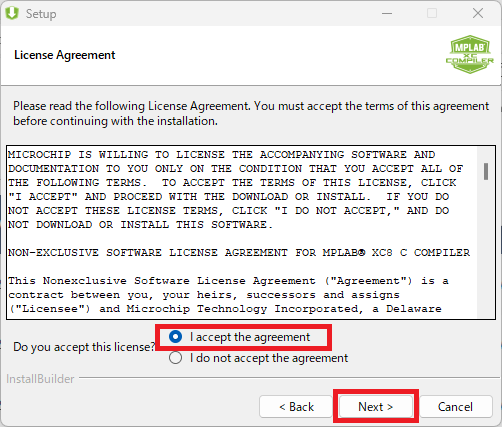
「License Agreement」ウィンドウで「〇 I accept the agreement」を選択して[Next>]をクリックします。
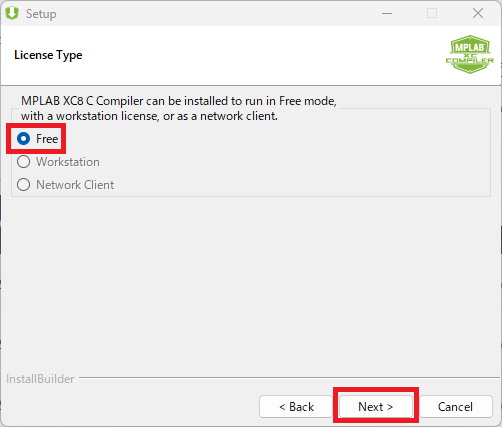
「License Type」ウィンドウで「Free」を選択して[Next>]をクリックします。
「Installation Directory」ウィンドウではデフォルトのまま[Next>]をクリックしました。

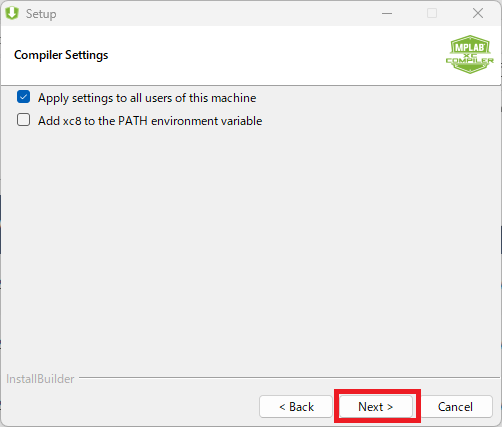
「Compiler Settings」ウィンドウではデフォルトのまま[Next>]をクリックしました。
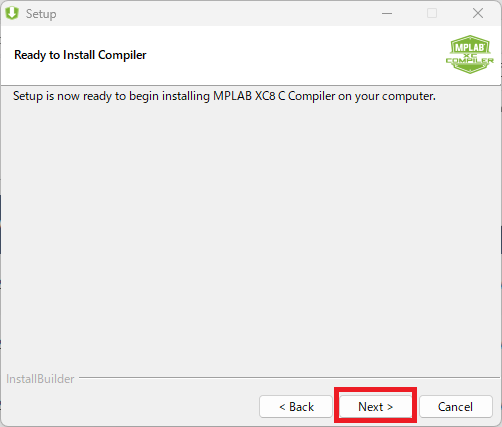
「Ready to Install Compiler」ウィンドウでは[Next>]でインストールを開始します。
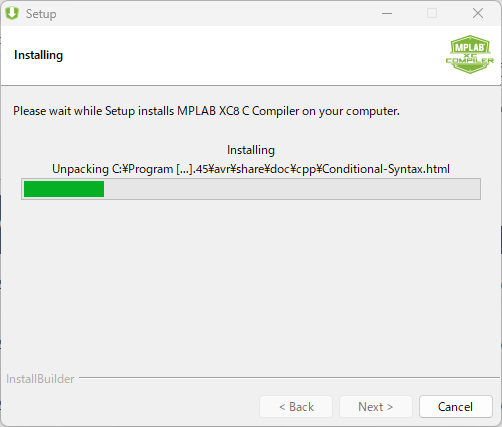
「Installing」インストール中です。
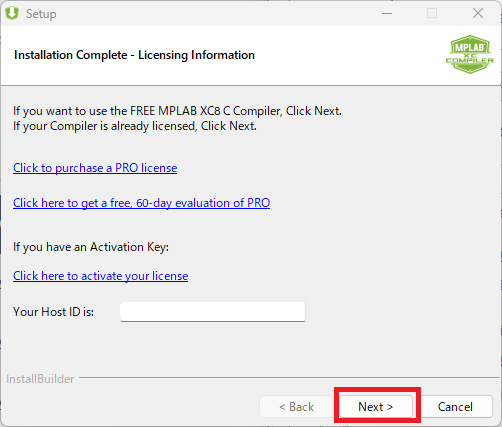
インストールが終了しました。「Installation Complte-Licensing Information」ウィンドウで[Next>]をクリックします。(Freeバージョンを使うため)
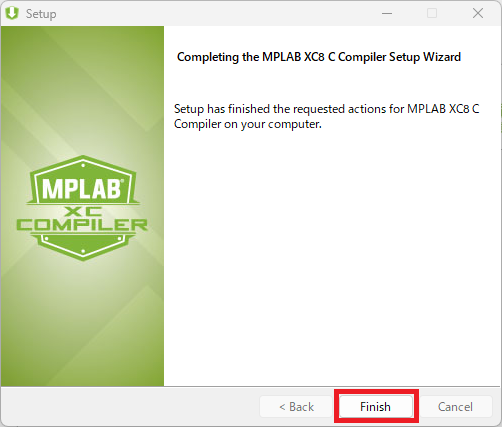
「Completing the MPLAB XC8 C Compiler Setup Wizard」ウィンドウで[Finish]をクリックします。
インストールの確認
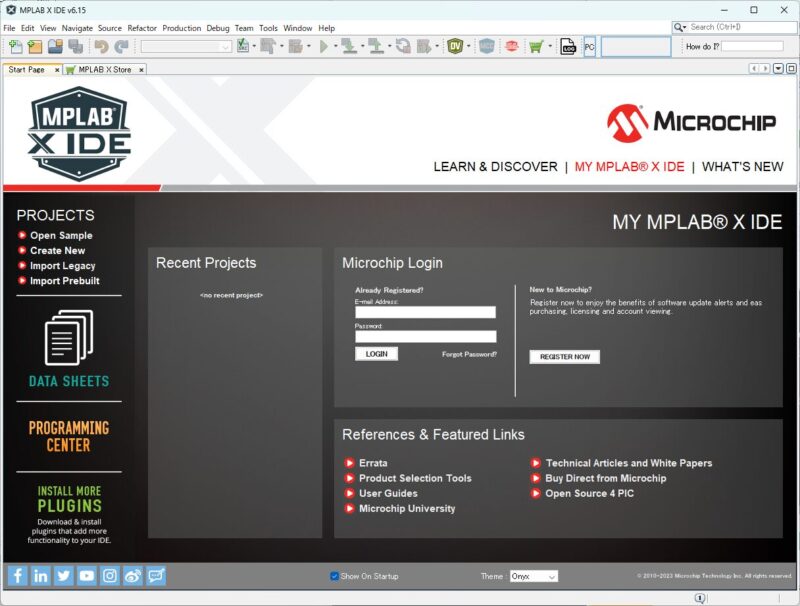
MPLAB X IDEを起動します。
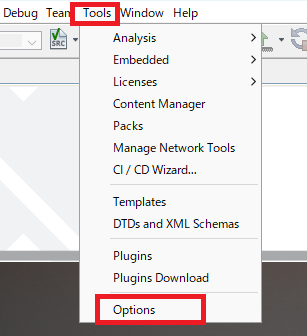
メニューの「Tools」ー「Option」をクリックします。
「Options」ウィンドウの「Embedded」の「Build Tools」タブをクリックします。
「Toolchain」のリストに「XC8(v2.45)….」が表示されることを確認します。
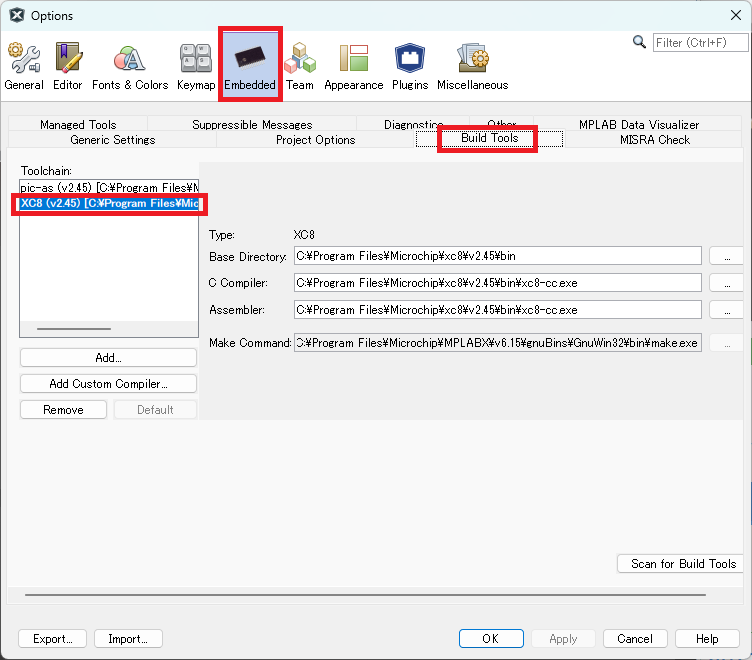
Cコンパイラのインストールが完了していることを確認できました。